How to Adjust Chain on a Motorcycle: A Complete Step-by-Step Guide
A properly adjusted motorcycle chain is essential for safe riding, smooth power delivery, and extending the lifespan of your drivetrain components. Whether you ride a dirt bike, adventure motorcycle, or street bike, regular chain maintenance can improve performance and prevent costly repairs.
If you’re wondering how to adjust chain on a motorcycle, this guide will walk you through the process step by step, explain why chain tension matters, and share expert maintenance tips to keep your bike in top condition.
Why Motorcycle Chain Adjustment Is Important
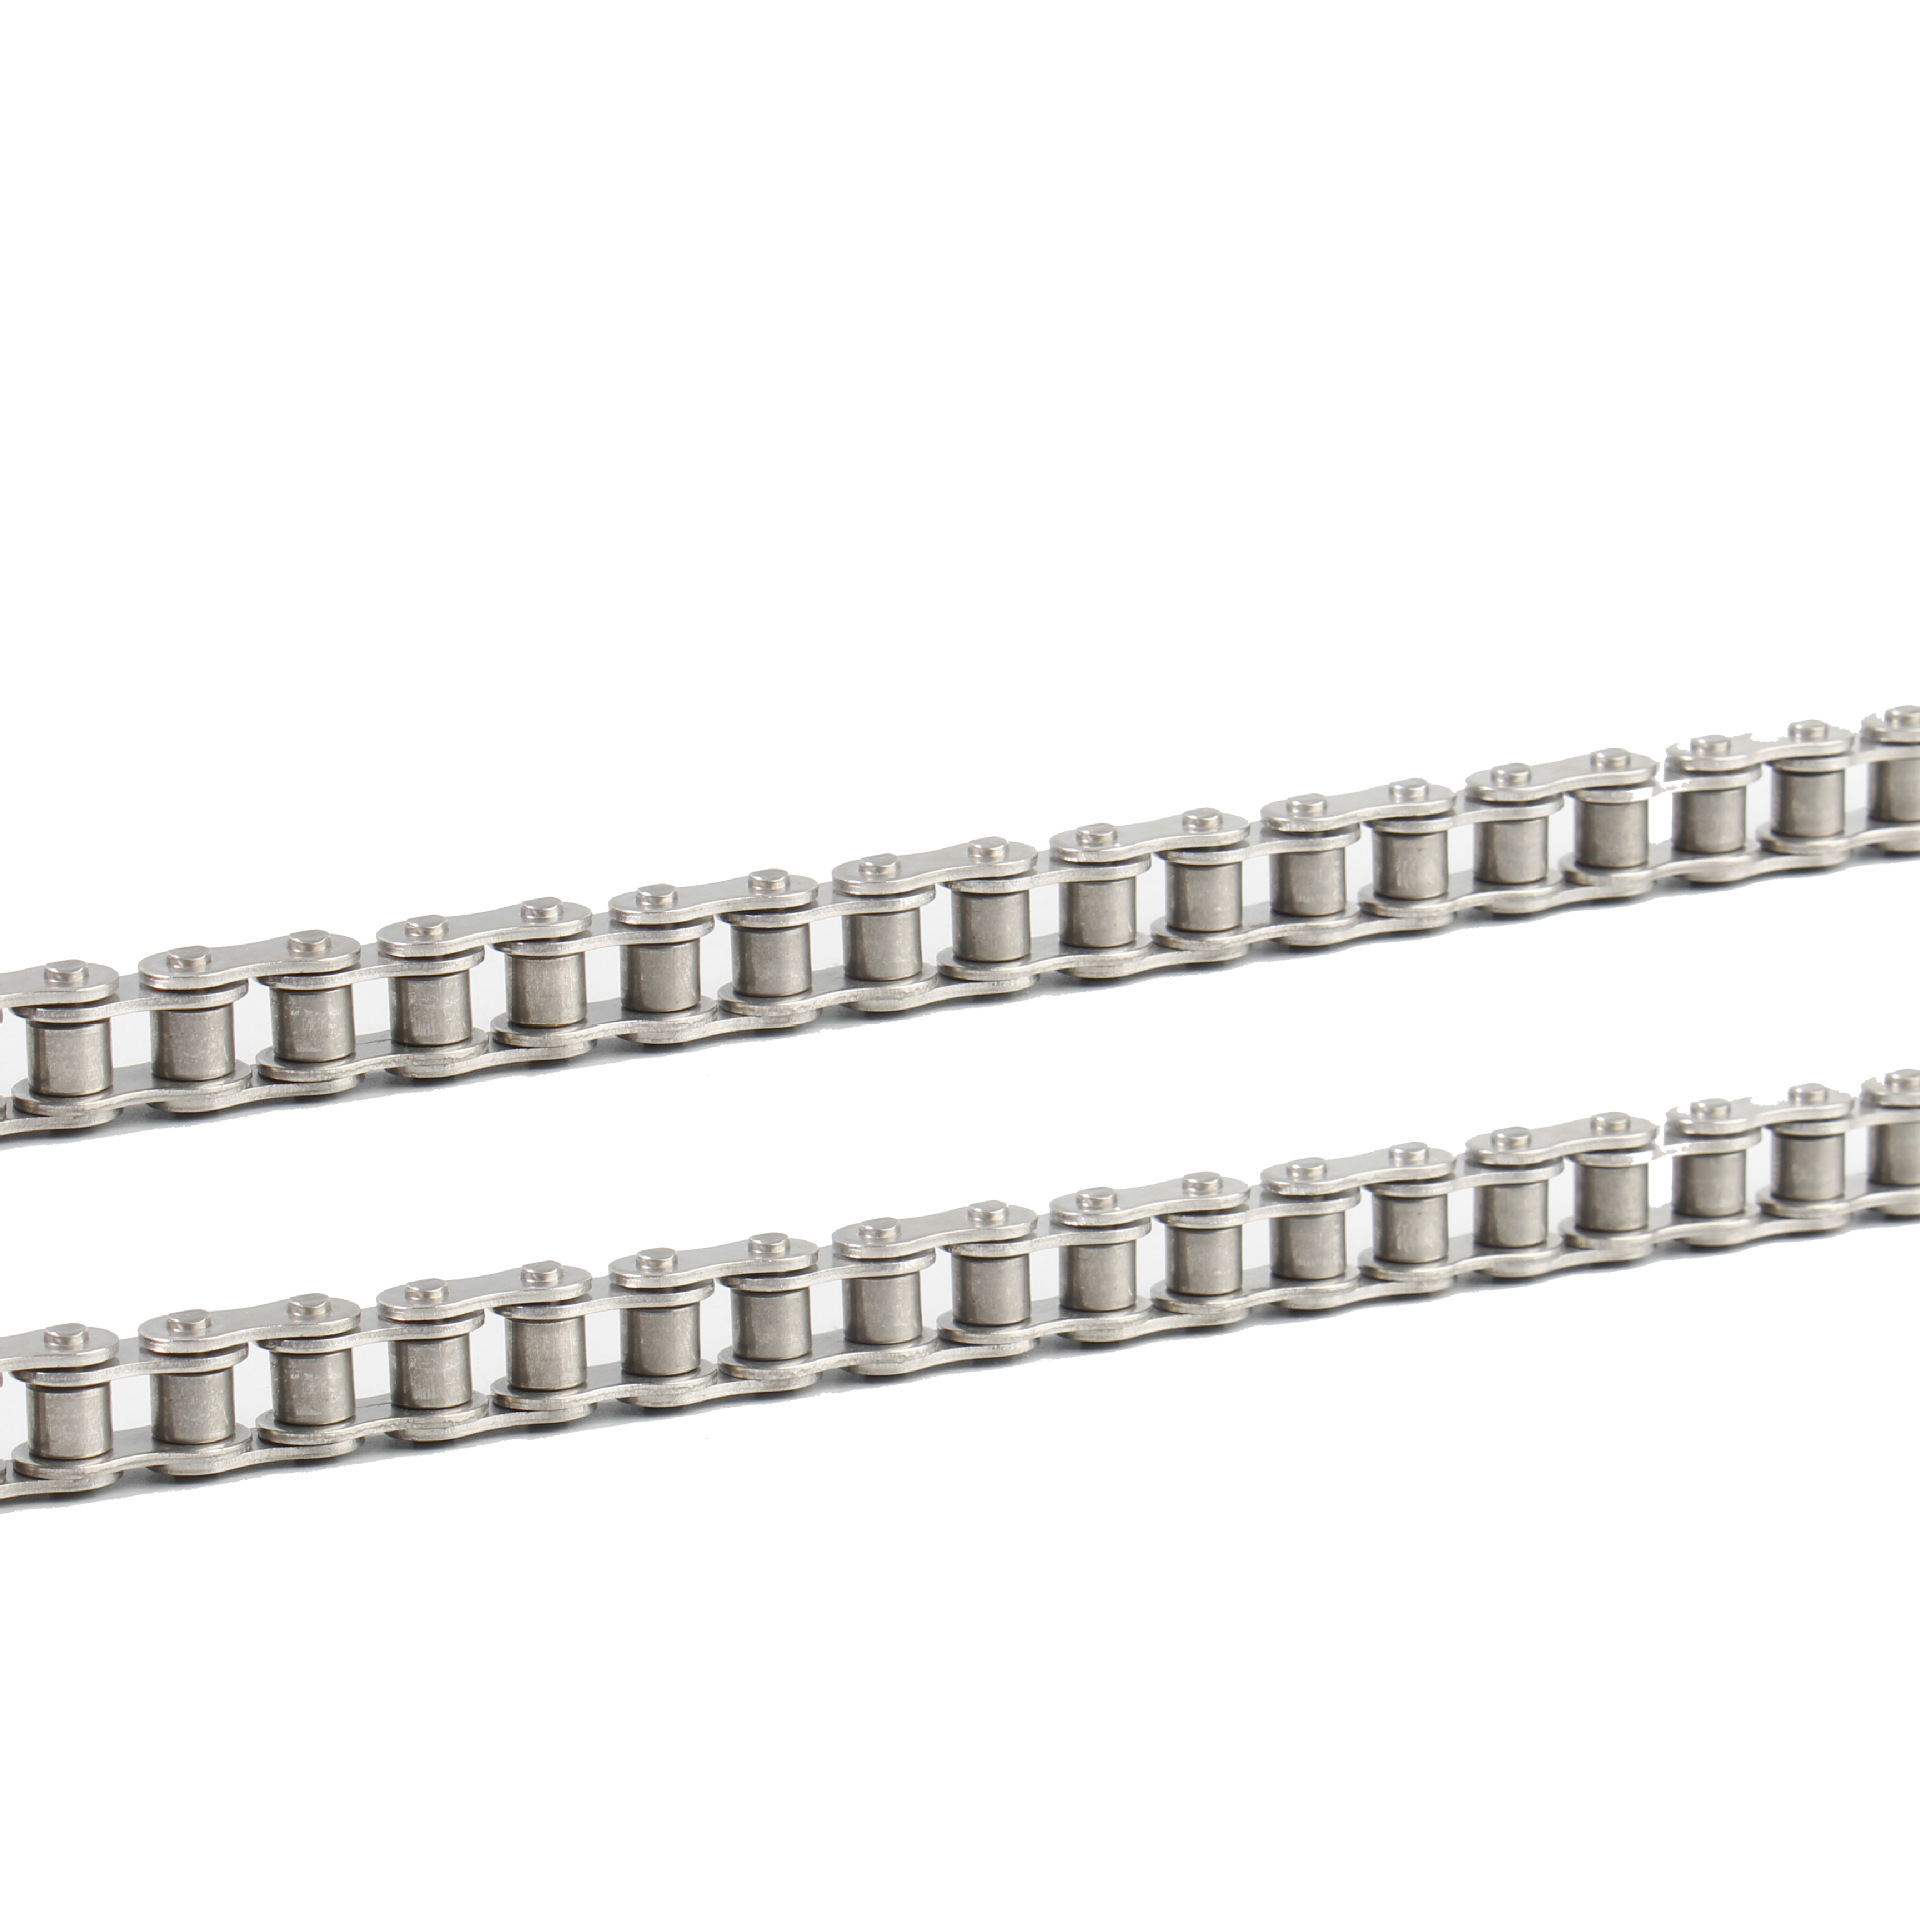
The drive chain transfers power from the engine to the rear wheel. Over time, chains naturally stretch due to wear and repeated stress. If the chain becomes too loose or too tight, it can cause several problems:
Reduced power transfer efficiency
Premature wear of sprockets and chain links
Increased vibration and noise
Poor handling and acceleration
Risk of chain derailment or breakage
Checking and adjusting chain tension regularly is one of the simplest and most important motorcycle maintenance tasks.
Signs Your Motorcycle Chain Needs Adjustment
Before adjusting your chain, look for these common warning signs:
Excessive chain slack
Jerky acceleration or throttle response
Chain slapping against the swingarm
Unusual drivetrain noise
Uneven chain wear
Difficulty maintaining smooth gear changes
Most manufacturers recommend inspecting chain tension every 300–600 miles (500–1,000 km), especially if you frequently ride off-road or in wet conditions.
Tools You’ll Need
Before starting, gather the following tools:
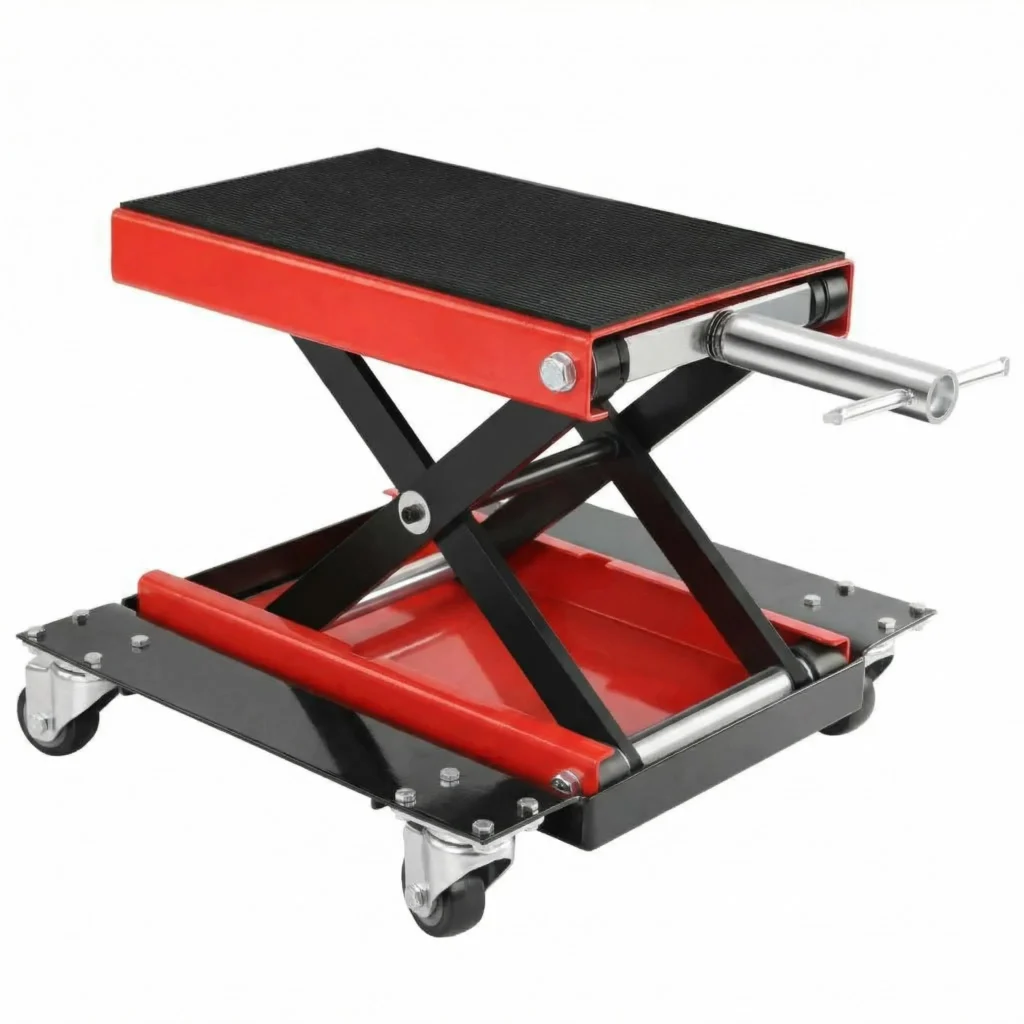
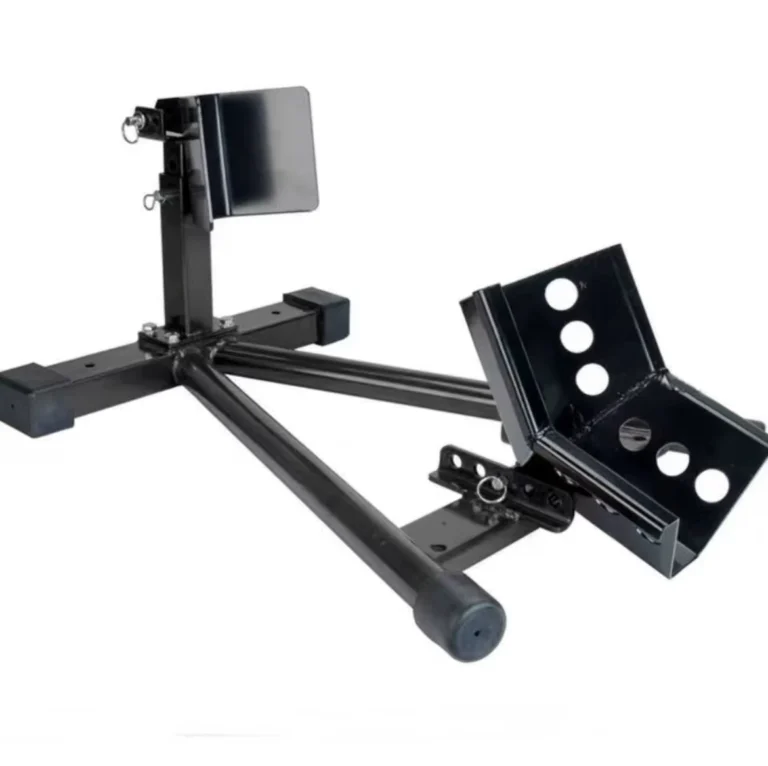
Motorcycle stand (optional but recommended)
Socket wrench set
Torque wrench
Tape measure or ruler
Chain lubricant
Owner’s manual
Always consult your motorcycle’s owner manual for the correct chain slack specification.
Step 1: Park the Motorcycle Safely
Place the motorcycle on a level surface. If possible, use a rear paddock stand or center stand to keep the bike stable and make the rear wheel easier to rotate.
Ensure the transmission is in neutral.
Step 2: Measure Chain Slack
Locate the midpoint of the chain between the front and rear sprockets.
Using your finger, push the chain upward and then downward. Measure the total vertical movement.
Most motorcycles require approximately 25–40 mm (1–1.5 inches) of chain slack, but specifications vary by model.
If the chain exceeds the recommended range, adjustment is necessary.
Step 3: Loosen the Rear Axle Nut
Using the appropriate socket wrench, loosen the rear axle nut without completely removing it.
The rear wheel must be able to move slightly forward or backward during adjustment.
Be careful not to loosen any components more than necessary.
Step 4: Adjust the Chain Tension
Most motorcycles use chain adjuster bolts located on both sides of the swingarm.
To tighten a loose chain:
Turn both adjuster bolts evenly clockwise.
Move the rear wheel slightly backward.
To loosen an overly tight chain:
Turn both adjuster bolts evenly counterclockwise.
Move the rear wheel slightly forward.
Make small adjustments and recheck chain slack after each change.
Step 5: Align the Rear Wheel
Proper wheel alignment is just as important as chain tension.
Most motorcycles have alignment marks on the swingarm near the adjusters. Ensure both sides show the same position.
Misalignment can cause:
Uneven tire wear
Poor handling
Accelerated chain and sprocket wear
For greater accuracy, some riders use alignment tools or measure from the swingarm pivot to the axle on both sides.
Step 6: Recheck Chain Slack
After adjusting the chain and confirming wheel alignment, measure chain slack again.
Rotate the rear wheel several times and check slack at different positions.
Chains often have tighter and looser sections. Always adjust according to the tightest point in the chain.
The final measurement should match the manufacturer’s specification.
Step 7: Tighten the Rear Axle Nut
Once the adjustment is correct:
Hold the adjusters in place.
Tighten the rear axle nut according to the torque value listed in the owner’s manual.
Recheck chain slack after tightening.
Sometimes the axle position shifts slightly during tightening, affecting the final tension.
Step 8: Lubricate the Chain
After adjusting the chain, apply a high-quality chain lubricant.
For best results:
Clean the chain first if it is dirty.
Rotate the rear wheel while applying lubricant.
Focus on the inner side of the chain.
Wipe off excess lubricant.
Regular lubrication reduces friction and extends chain life significantly.
Common Mistakes to Avoid
Over-Tightening the Chain
Many riders mistakenly believe a tighter chain is better.
In reality, an overly tight chain can:
Damage transmission bearings
Increase sprocket wear
Restrict suspension movement
Always maintain the recommended slack.
Ignoring Chain Wear
Adjustment cannot fix a worn-out chain.
Replace the chain if you notice:
Frozen links
Excessive stretching
Rust damage
Hooked sprocket teeth
Uneven Adjustments
Adjusting one side more than the other can misalign the rear wheel.
Always count turns carefully and verify alignment marks.
How Often Should You Adjust a Motorcycle Chain?
Adjustment intervals depend on riding conditions and motorcycle type.
General guidelines include:
Street motorcycles: every 500–1,000 miles
Dirt bikes: after every few rides
Adventure motorcycles: inspect after long off-road trips
Chains typically require more frequent adjustments during the first few thousand miles after installation.
Chain Maintenance Tips for Longer Life
To maximize chain and sprocket lifespan:
Clean the chain regularly
Lubricate every 300–600 miles
Inspect sprockets for wear
Replace chain and sprockets as a complete set
Avoid pressure washing directly onto chain seals
Check tension before long rides
Proper maintenance can help a quality motorcycle chain last 15,000–30,000 miles or more.
Frequently Asked Questions
Can I ride with a loose motorcycle chain?
A slightly loose chain may still function, but excessive slack can lead to poor performance and safety risks. Adjust it as soon as possible.
How do I know if my chain is too tight?
A tight chain may produce whining noises, restrict suspension movement, and place extra stress on drivetrain components.
Should I adjust the chain with the motorcycle loaded?
Most manufacturers specify chain tension with the motorcycle unloaded. Always follow the owner’s manual recommendations.
Conclusion
Learning how to adjust chain on a motorcycle is a valuable skill for every rider. Regular chain inspection and proper adjustment improve safety, enhance riding performance, and extend the lifespan of your drivetrain components.
By following the simple steps outlined above—measuring chain slack, adjusting tension evenly, aligning the rear wheel, and lubricating the chain—you can keep your motorcycle running smoothly and avoid expensive repairs down the road.
Make chain maintenance part of your routine, and your motorcycle will reward you with better performance and reliability for years to come.
Strict quality control, durable construction, perfect fit and easy installation.Ideal for replacement and upgrade.
Fast Delivery
On-time shipping & ready stock for immediate dispatch,for bulk production,usually takes about 10-15 days.Secure packaging and prompt order processing.Reliable logistics support for worldwide delivery.
Best Warranty
Professional after-sales support, reliable warranty service, and hassle-free assistance for your peace of mind.